
TYPO3 salah satu dari sekian banyak CMS (content management system) yang dapat Anda gunakan secara free dalam artian open source (bebas) di kembangkan, di kustomisasi. TYPO3 hampir sama dengan Drupal dirilis dibawah naungan GNU General Public License.
TYPO3 ditulis menggunakan PHP dan dapat berjalan di beberapa web server seperti Apache, Nginx atau IIS dan yang menarik TYPO3 dapat di jalankan di berbagai macam sistem operasi mulai dari Linux, Microsoft Windows, FreeBSD, MacOS dan OS/2.
Untuk mengikuti tutorial instalasi typo3 ini pastikan Anda sudah instalasi LEMP Stack yang terdiri dari Web Server Nginx, PHP 7.x dan Database MariaDB, bagi yang belum melakukan instalasinya silakan mengikuti beberapa tautan berikut:
- Cara Instalasi Nginx Di CentOS 8
- Cara Instalasi PHP 7 di CentOS 8
- Cara Instalasi Database MariaDB di CentOS 8
Seperti biasa pastikan service Nginx, php-fpm dan database Anda sudah running
1
2
3
4
5
6
7
8
[root@tutorial ~]#
[root@tutorial ~]# systemctl status mariadb |grep Active
   Active: active (running) since Tue 2020-08-25 07:37:13 UTC; 27min ago
[root@tutorial ~]# systemctl status php-fpm |grep Active
   Active: active (running) since Tue 2020-08-25 07:38:48 UTC; 25min ago
[root@tutorial ~]# systemctl status nginx |grep Active
   Active: active (running) since Tue 2020-08-25 07:37:07 UTC; 27min ago
[root@tutorial ~]#
Instalasi beberapa module php yang dibutuhkan
1
2
[root@tutorial ~]#
[root@tutorial ~]# dnf install php-zip php-intl php-gd php-json php-mysqli php-curl php-intl php-cli php-apcu php-soap php-xml php-zip php-mbstring freetype php-bcmath php-fileinfo ImageMagick -y
Menyesuaikan max_execution_time dan max_input_vars di php.ini
1
2
[root@tutorial ~]#
[root@tutorial ~]# vim /etc/php.ini
Cari baris line max_execution_time dan max_input_vars ubah value (nilai) nya seperti berikut
1
2
max_execution_time = 30 >> max_execution_time = 240
max_input_vars = 1000 >> max_input_vars = 1500
Jika sudah, selanjutnya menentukan path direktori dan unduh file typo3 terbaru yang dapat Anda lihat dan dapatkan pada link berikut:Current Versions
1
2
3
4
5
6
7
8
9
10
11
12
13
14
15
16
17
18
19
20
21
[root@tutorial ~]#
[root@tutorial ~]# cd /usr/share/nginx/
[root@tutorial nginx]#
[root@tutorial nginx]# wget --content-disposition https://get.typo3.org/10.4.6
--2020-08-24 21:19:01-- https://get.typo3.org/10.4.6
Resolving get.typo3.org (get.typo3.org)... 185.17.71.134, 2a04:503:0:1019::134
Connecting to get.typo3.org (get.typo3.org)|185.17.71.134|:443... connected.
HTTP request sent, awaiting response... 302 Found
Location: https://typo3.azureedge.net/typo3/10.4.6/typo3_src-10.4.6.tar.gz [following]
--2020-08-24 21:19:02-- https://typo3.azureedge.net/typo3/10.4.6/typo3_src-10.4.6.tar.gz
Resolving typo3.azureedge.net (typo3.azureedge.net)... 117.18.232.200, 2606:2800:147:120f:30c:1ba0:fc6:265a
Connecting to typo3.azureedge.net (typo3.azureedge.net)|117.18.232.200|:443... connected.
HTTP request sent, awaiting response... 200 OK
Length: 28467603 (27M) [application/octet-stream]
Saving to: ‘typo3_src-10.4.6.tar.gz’

typo3_src-10.4.6.tar.gz 100%[===============================================>] 27.15M 61.4MB/s in 0.4s

2020-08-24 21:19:02 (61.4 MB/s) - ‘typo3_src-10.4.6.tar.gz’ saved [28467603/28467603]

[root@tutorial nginx]#
Extrak file typo3 yang baru saja di unduh
1
2
[root@tutorial nginx]#
[root@tutorial nginx]# tar -zxvf typo3_src-10.4.6.tar.gz
Ubah penamaan direktori sesuai keinginan tujuannya untuk mempermudah dan simple saja.
1
2
[root@tutorial nginx]#
[root@tutorial nginx]# mv typo3_src-10.4.6 typo3
Membuat file FIRS_INSTALL di dalam direktori typo3
1
2
[root@tutorial nginx]#
[root@tutorial nginx]# touch typo3/FIRST_INSTALL
Memberikan hak akses dan owner direktori typo3
1
2
[root@tutorial nginx]# chown -R nginx:nginx typo3
[root@tutorial nginx]# chmod -R 755 typo3
Membuat database typo3
1
2
3
4
5
6
7
8
9
10
11
12
13
14
15
16
17
18
19
20
21
22
23
24
25
26
[root@tutorial nginx]# mysql -u root -p
Enter password:
Welcome to the MariaDB monitor. Commands end with ; or \g.
Your MariaDB connection id is 17
Server version: 10.3.17-MariaDB MariaDB Server

Copyright (c) 2000, 2018, Oracle, MariaDB Corporation Ab and others.

Type 'help;' or '\h' for help. Type '\c' to clear the current input statement.

MariaDB [(none)]>
MariaDB [(none)]> CREATE DATABASE typo3 CHARACTER SET utf8 COLLATE utf8_general_ci;
Query OK, 1 row affected (0.000 sec)

MariaDB [(none)]> CREATE USER 'typo3user'@'localhost' IDENTIFIED BY 'password';
Query OK, 0 rows affected (0.000 sec)

MariaDB [(none)]> GRANT ALL PRIVILEGES ON typo3.* TO 'typo3user'@'localhost';
Query OK, 0 rows affected (0.000 sec)

MariaDB [(none)]> FLUSH PRIVILEGES;
Query OK, 0 rows affected (0.001 sec)

MariaDB [(none)]> exit
Bye
[root@tutorial nginx]#
Noted: Silakan disimpan informasi nama, username, password database karena akan digunakan pada saat proses instalasi nantinya.
Membuat server block Nginx
1
2
[root@tutorial nginx]#
[root@tutorial nginx]# vim /etc/nginx/conf.d/typo3.conf
Berikut isi full dari konfigurasi server block Nginx
1
2
3
4
5
6
7
8
9
10
11
12
13
14
15
16
17
18
19
server {
        listen 80;
        server_name typo3.nurhamim.my.id;
        root /usr/share/nginx/typo3;
        index index.php index.html index.htm;

        location / {
                try_files $uri $uri/ /index.php?$query_string;
        }

        location ~ \.php {
                include fastcgi.conf;
                fastcgi_split_path_info ^(.+\.php)(/.+)$;
                fastcgi_pass unix:/run/php-fpm/www.sock;
        }
        location ~ /\.ht {
                deny all;
        }
}
Noted: Sesuaikan path direktori, server_name sesuai keinginan Anda dan disini kami menggunakan unic-socket untuk komunikasi nginx ke php-fpm nya.
Reload Nginx dan php-fpm
1
2
[root@tutorial nginx]# systemctl reload nginx
[root@tutorial nginx]# systemctl reload php-fpm
Membuat A record pada subdomain atau domain dan diarahkan ke IP Public VM atau VPS Anda contohnya
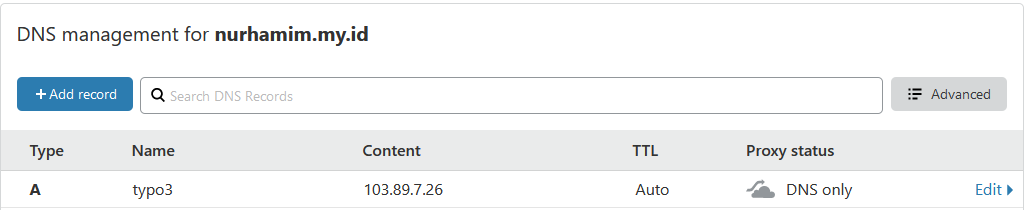
Verifikasi bisa menggunakan ping

Jika sudah silakan akses melalui browser
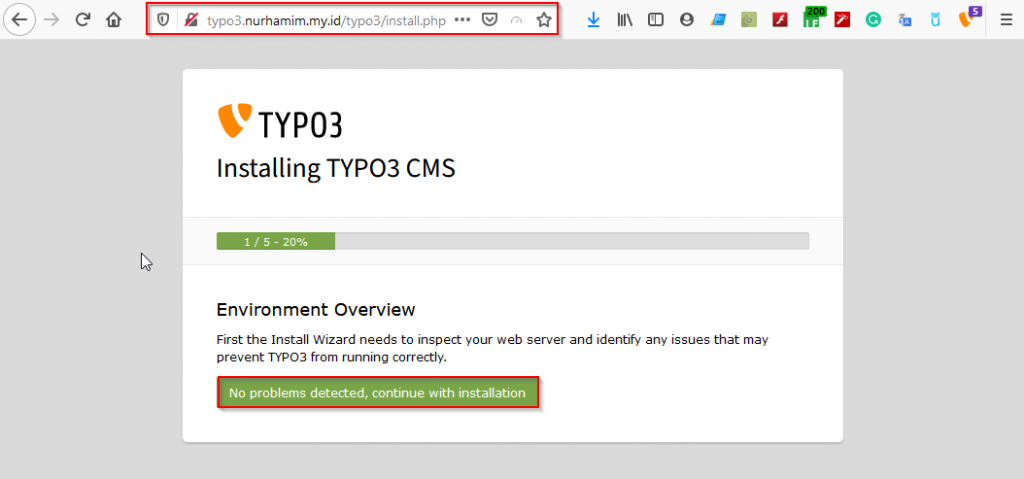
Klik No problems, continue with installation
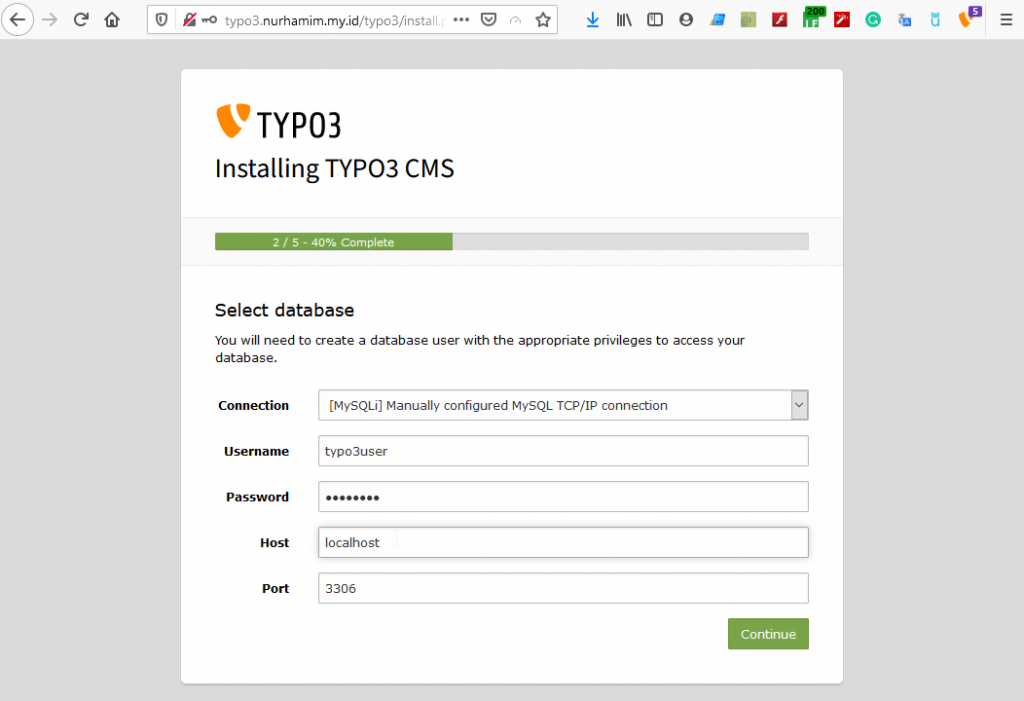
Konfigurasi database, silakan input username dan password yang telah dibuat sebelumnya, Continue
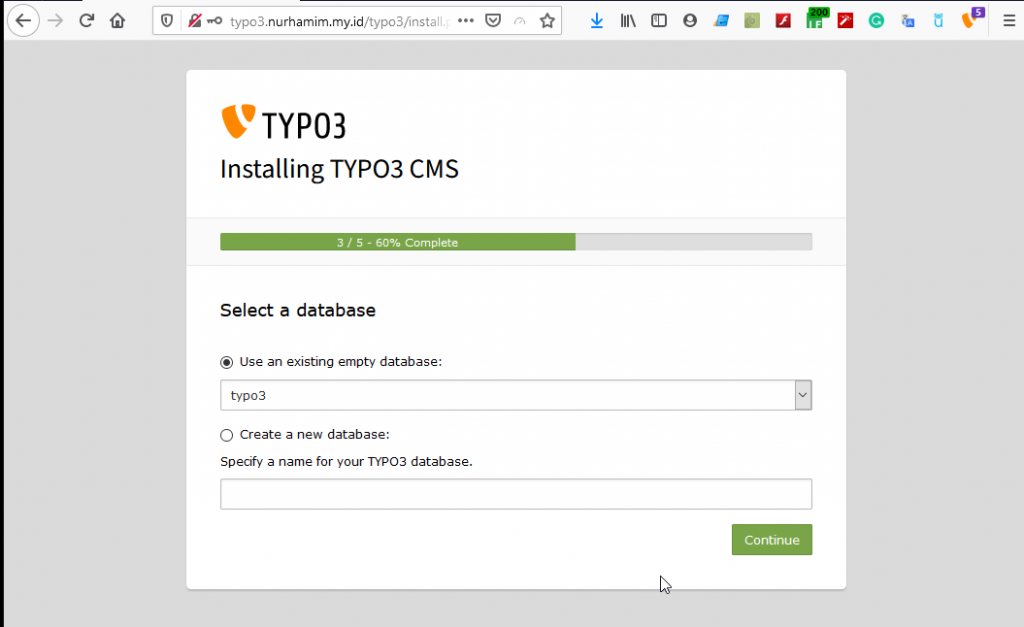
Pilih database yang sudah dibuat dengan user yang sudah ditentukan sebelumnya, Continue
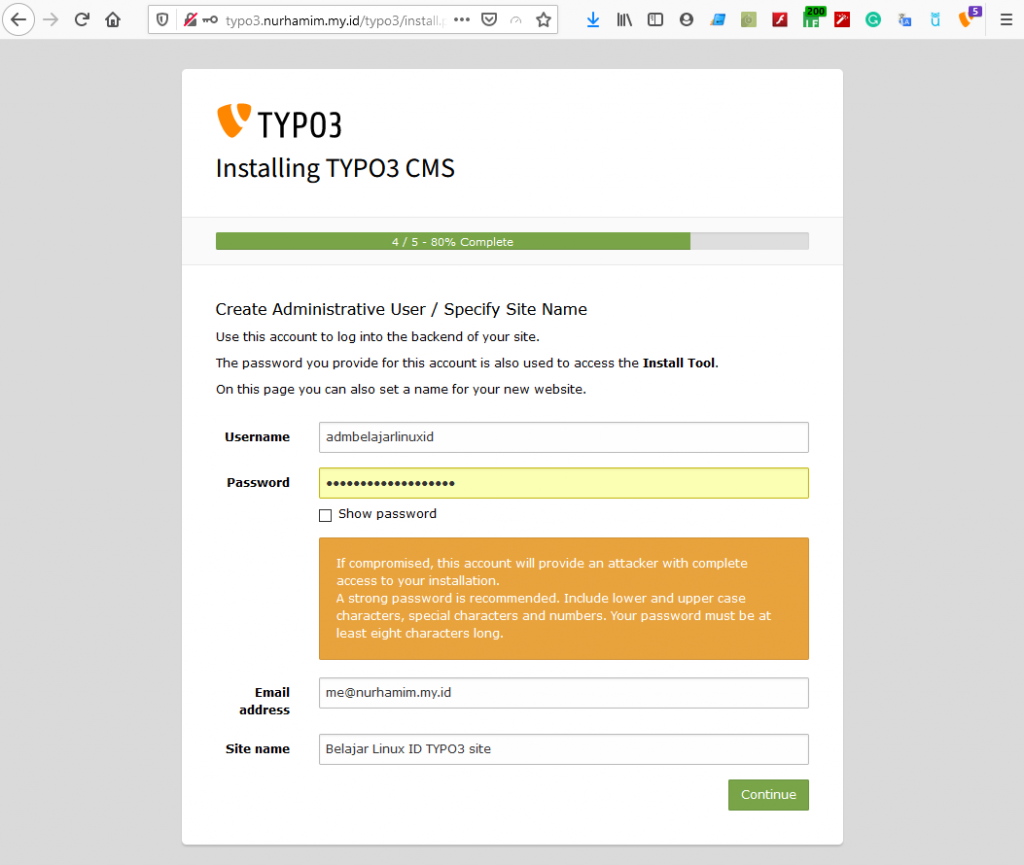
Membuat username dan password login ke sisi Administrator typo3, Continue
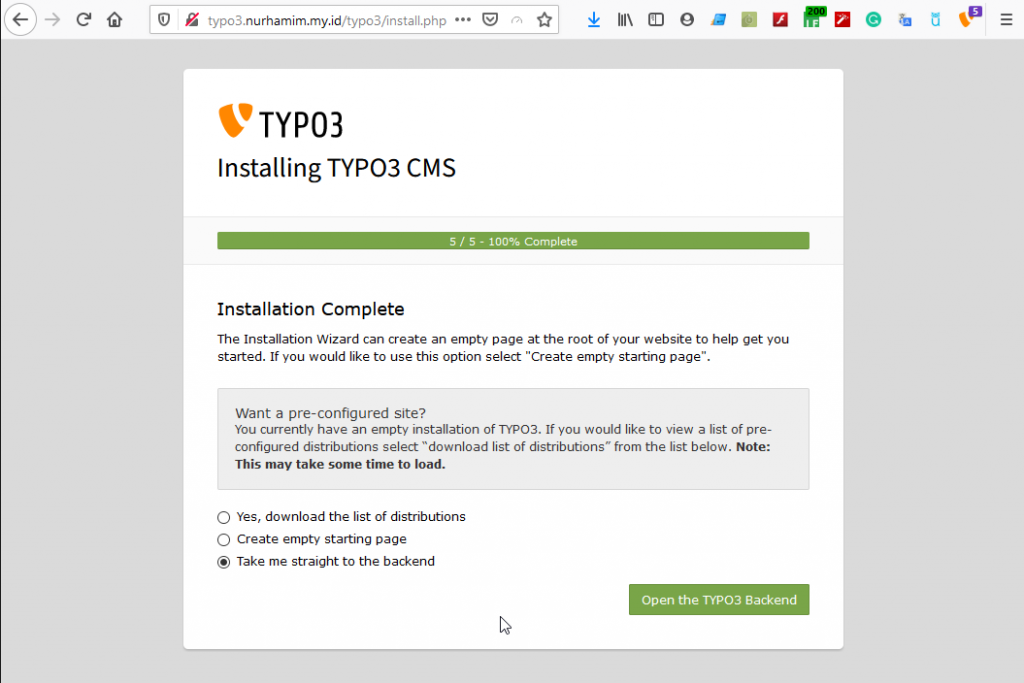
Instalasi typo3 sudah selesai dilakukan, Open the Typo3 Backend
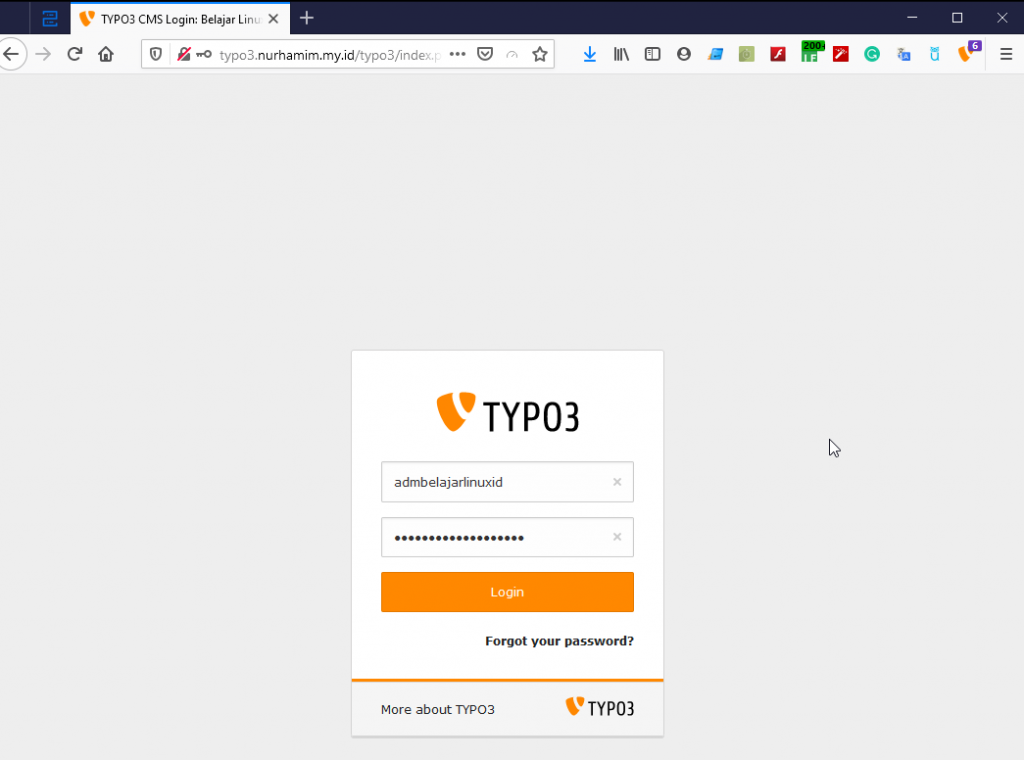
Input username dan password yang telah dibuat sebelumnya, jika berhasil seperti berikut tampilan backend dari TYPO3
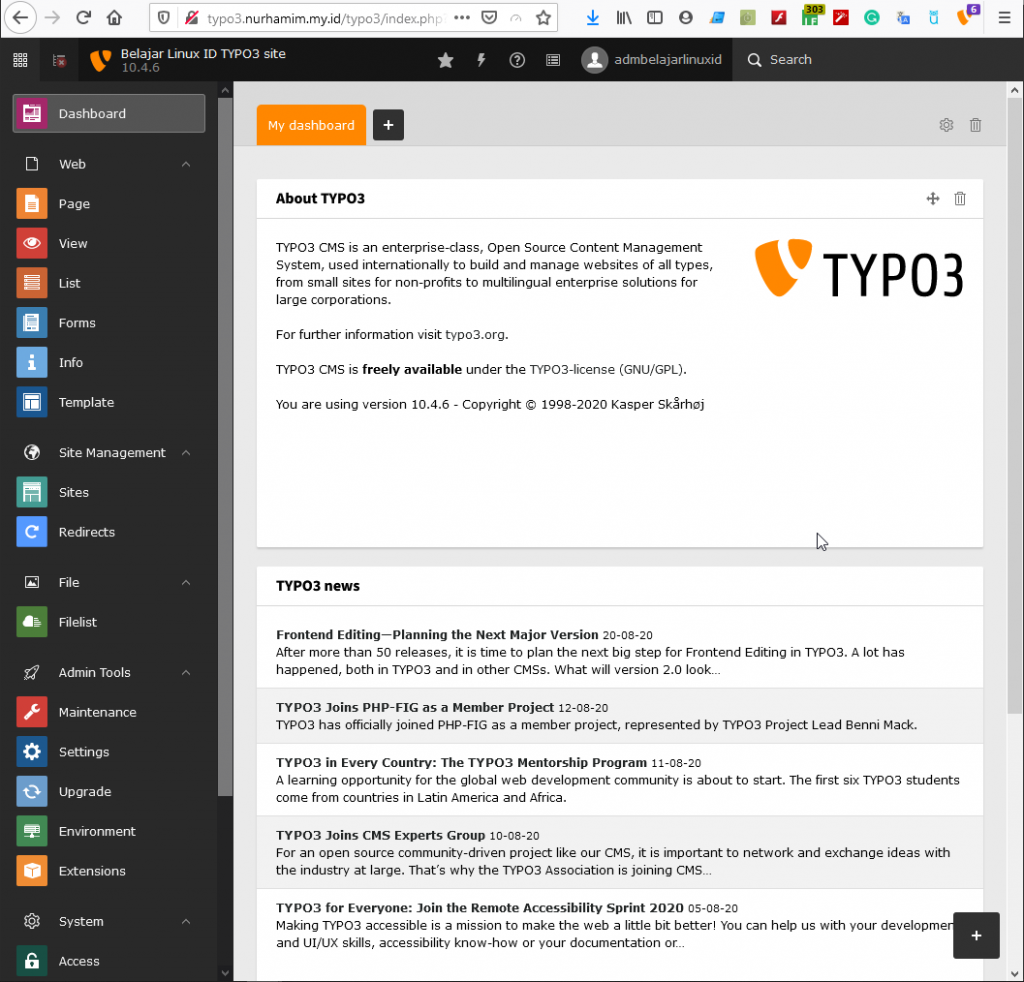
Selamat Anda sudah berhasil melakukan instalasi TYPO3.
Selamat mencoba 😁