
Belajar Linux ID - Tutorial kali ini kami akan melakukan instalasi ProjectSend di Ubuntu 20.04 LTS menggunakan web server Nginx.
Apa itu ProjectSend?.
ProjectSend adalah solusi berbagi file (file sharing) yang open source dan self-hosted artinya dapat diinstall di Hosting ataupun VPS Anda secara pribadi. ProjectSend sangat mudah digunakan karena sangat fleksibel dan simple serta user friendly. Fitur ProjectSend:
- Real-time statistics
- Membuat klien dan grup
- Pendaftaran mandiri dan login via sosial media
- Kustom email template
Untuk mengikuti tutorial ini pastikan Anda sudah menginstall LEMP stack yang dapat Anda lihat pada tautan berikut: Install LEMP stack di Ubuntu 20.04 LTS.
Disini kami menggunakan instance/VPS untuk instalasi ProjectSend, langkah pertama yang dilakukan yaitu login ke instance/VPS Anda masing-masing menggunakan SSH.
Kemudian, update sistem operasi Ubuntu 20.04 LTS
1
ubuntu@lemp-belajarlinux:~$ sudo apt update -y
Unduh file ProjectSend menggunakan perintah wget atau dapat melalui link berikut: Klik Disini
1
ubuntu@lemp-belajarlinux:~$ wget -O projectsend.zip https://www.projectsend.org/download/387/
Install unzip dan membuat direktori projectsend dimana direktori ini sebagai root dir dari projectsend
1
2
ubuntu@lemp-belajarlinux:~$ sudo apt install unzip
ubuntu@lemp-belajarlinux:~$ sudo mkdir -p /usr/share/nginx/projectsend/
Unzip file yang sudah di download ke direktori yang sudah dibuat diatas
1
ubuntu@lemp-belajarlinux:~$ sudo unzip projectsend.zip -d /usr/share/nginx/projectsend/
Berikan hak owner terhadap root direktori projectsend
1
2
ubuntu@lemp-belajarlinux:~$ sudo chown www-data:www-data /usr/share/nginx/projectsend/ -R
ubuntu@lemp-belajarlinux:~$
Jika sudah silakan membuat database yang akan digunakan oleh projectsend
1
2
3
4
5
6
7
8
9
10
11
12
13
14
15
16
17
18
19
20
21
22
23
24
25
ubuntu@lemp-belajarlinux:~$ sudo mysql -u root -p
Enter password: [INPUT PASSWORD DATABASE]
Welcome to the MariaDB monitor.  Commands end with ; or \g.
Your MariaDB connection id is 58016
Server version: 10.3.25-MariaDB-0ubuntu0.20.04.1 Ubuntu 20.04

Copyright (c) 2000, 2018, Oracle, MariaDB Corporation Ab and others.

Type 'help;' or '\h' for help. Type '\c' to clear the current input statement.

MariaDB [(none)]> create database projectsend;
Query OK, 1 row affected (0.023 sec)

MariaDB [(none)]> create user projectsenduser@localhost identified by 'pwdbpsend';
Query OK, 0 rows affected (0.127 sec)

MariaDB [(none)]> grant all privileges on projectsend.* to projectsenduser@localhost;
Query OK, 0 rows affected (0.007 sec)

MariaDB [(none)]> flush privileges;
Query OK, 0 rows affected (0.004 sec)

MariaDB [(none)]> exit;
Bye
ubuntu@lemp-belajarlinux:~$
Jika sudah selanjutnya konfigurasi database projectsend
1
2
3
ubuntu@lemp-belajarlinux:~$ cd /usr/share/nginx/projectsend/includes/
ubuntu@lemp-belajarlinux:/usr/share/nginx/projectsend/includes$ sudo cp sys.config.sample.php sys.config.php
ubuntu@lemp-belajarlinux:/usr/share/nginx/projectsend/includes$
Buka file sys.config.php dan input username dan password db serta nama database yang telah dibuat diatas
1
2
3
4
5
6
7
8
9
10
11
12
13
14
15
16
17
/**
 * Database driver to use with PDO.
 * Possible options: mysql, mssql
*/
define('DB_DRIVER', 'mysql');

/** Database name */
define('DB_NAME', 'projectsend');

/** Database host (in most cases it's localhost) */
define('DB_HOST', 'localhost');

/** Database username (must be assigned to the database) */
define('DB_USER', 'projectsenduser');

/** Database password */
define('DB_PASSWORD', 'pwdbpsend');
Jika sudah silakan simpan konfigurasi database-nya. Selanjutnya membuat server blocks nginx untuk projectsend
1
ubuntu@lemp-belajarlinux:/usr/share/nginx/projectsend/includes$ sudo vim /etc/nginx/conf.d/projectsend.conf
Berikut file server blocks nginx projectsend
1
2
3
4
5
6
7
8
9
10
11
12
13
14
15
16
17
18
19
20
21
22
23
24
25
26
27
28
29
30
31
32
33
34
35
36
37
38
39
40
41
42
43
44
45
46
47
48
49
50
51
52
53
54
55
56
57
58
59
60
61
62
63
64
65
66
67
server {
    listen 80;
    server_name projectsend.belajarlinux.my.id;

    # Add headers to serve security related headers
    add_header X-Content-Type-Options nosniff;
    add_header X-XSS-Protection "1; mode=block";
    add_header X-Robots-Tag none;
    add_header X-Download-Options noopen;
    add_header X-Permitted-Cross-Domain-Policies none;
    add_header Referrer-Policy no-referrer;

    # Path to the root of your installation
    root /usr/share/nginx/projectsend/;
    index index.php index.html;

    access_log /var/log/nginx/projectsend.access;
    error_log /var/log/nginx/projectsend.error;

    location = /robots.txt {
        allow all;
        log_not_found off;
        access_log off;
    }

    location ~ /.well-known/acme-challenge {
      allow all;
    }

    # set max upload size
    client_max_body_size 512M;
    fastcgi_buffers 64 4K;

    # Disable gzip to avoid the removal of the ETag header
    gzip off;

    # Uncomment if your server is build with the ngx_pagespeed module
    # This module is currently not supported.
    #pagespeed off;

    error_page 403 /core/templates/403.php;
    error_page 404 /core/templates/404.php;

    location / {
      try_files $uri $uri/ /index.php;
    }

    location ~ \.php$ {
       include fastcgi_params;
       fastcgi_split_path_info ^(.+\.php)(/.*)$;
       try_files $fastcgi_script_name =404;
       fastcgi_param SCRIPT_FILENAME $document_root$fastcgi_script_name;
       fastcgi_param PATH_INFO $fastcgi_path_info;
       #Avoid sending the security headers twice
       fastcgi_param modHeadersAvailable true;
       fastcgi_param front_controller_active true;
       fastcgi_pass unix:/run/php/php7.4-fpm.sock;
       fastcgi_intercept_errors on;
       fastcgi_request_buffering off;
    }

   location ~* \.(?:svg|gif|png|html|ttf|woff|ico|jpg|jpeg)$ {
        try_files $uri /index.php$uri$is_args$args;
        # Optional: Don't log access to other assets
        access_log off;
   }
}
Catatan: Silakan sesuaikan server_name dengan nama domain atau subdomain yang ingin Anda gunakan
Jika sudah silakan simpan konfigurasi diatas dan pastikan tidak ada kesalahan pada konfigurasi nginx
1
2
3
4
ubuntu@lemp-belajarlinux:/usr/share/nginx/projectsend/includes$ sudo nginx -t
nginx: the configuration file /etc/nginx/nginx.conf syntax is ok
nginx: configuration file /etc/nginx/nginx.conf test is successful
ubuntu@lemp-belajarlinux:/usr/share/nginx/projectsend/includes$
Reload nginx
1
2
ubuntu@lemp-belajarlinux:/usr/share/nginx/projectsend/includes$ sudo systemctl reload nginx
ubuntu@lemp-belajarlinux:/usr/share/nginx/projectsend/includes$
Install module php yang dibutuhkan oleh projectsend disini kami menggunakan PHP versi 7.4
1
ubuntu@lemp-belajarlinux:/usr/share/nginx/projectsend/includes$ sudo apt install imagemagick php-imagick php7.4-common php7.4-mysql php7.4-fpm php7.4-gd php7.4-json php7.4-curl  php7.4-zip php7.4-xml php7.4-mbstring php7.4-bz2 php7.4-intl php7.4-bcmath php7.4-gmp -y
Install SSL Free, disini kami menggunakan certbort, apabila Anda belum menginstallnya silakan install terlebih dahulu cerbort di Ubuntu 20.04 LTS.
Jika sudah Anda dapat menjalankan satu baris perintah berikut:
1
2
3
4
5
6
7
8
9
10
11
12
13
14
15
16
17
18
19
20
21
22
23
24
25
26
27
28
29
30
31
32
33
34
ubuntu@lemp-belajarlinux:~$ sudo certbot --nginx --agree-tos --redirect --hsts --staple-ocsp --email me@belajarlinux.id -d projectsend.belajarlinux.my.id
Saving debug log to /var/log/letsencrypt/letsencrypt.log
Plugins selected: Authenticator nginx, Installer nginx
Obtaining a new certificate
Performing the following challenges:
http-01 challenge for projectsend.belajarlinux.my.id
Waiting for verification...
Cleaning up challenges
Deploying Certificate to VirtualHost /etc/nginx/conf.d/projectsend.conf
Redirecting all traffic on port 80 to ssl in /etc/nginx/conf.d/projectsend.conf

- - - - - - - - - - - - - - - - - - - - - - - - - - - - - - - - - - - - - - - -
Congratulations! You have successfully enabled
https://projectsend.belajarlinux.my.id

You should test your configuration at:
https://www.ssllabs.com/ssltest/analyze.html?d=projectsend.belajarlinux.my.id
- - - - - - - - - - - - - - - - - - - - - - - - - - - - - - - - - - - - - - - -

IMPORTANT NOTES:
 - Congratulations! Your certificate and chain have been saved at:
   /etc/letsencrypt/live/projectsend.belajarlinux.my.id/fullchain.pem
   Your key file has been saved at:
   /etc/letsencrypt/live/projectsend.belajarlinux.my.id/privkey.pem
   Your cert will expire on 2021-06-12. To obtain a new or tweaked
   version of this certificate in the future, simply run certbot again
   with the "certonly" option. To non-interactively renew *all* of
   your certificates, run "certbot renew"
 - If you like Certbot, please consider supporting our work by:

   Donating to ISRG / Let's Encrypt:   https://letsencrypt.org/donate
   Donating to EFF:                    https://eff.org/donate-le

ubuntu@lemp-belajarlinux:~$
Keterangan:
- –nginx: Gunakan authentikan nginx untuk instalasi SSL
- –agree-tos: Menyetujui terms of service dari Let’s Encrypt
- –redirect: Enforce HTTPS by adding 301 redirect.
- –hsts: Mengaktifkan HTTP Strict Transport Security untuk melindungi dari serangan stripping SSL/TLS.
- –staple-ocsp: Enable OCSP Stapling.
- –email: Email yang digunakan untuk pendaftaran dan pemulihan kontak.
- -d flag diikuti dengan daftar nama domain atau subdomain, dipisahkan dengan koma. Anda dapat menambahkan hingga 100 nama domain.
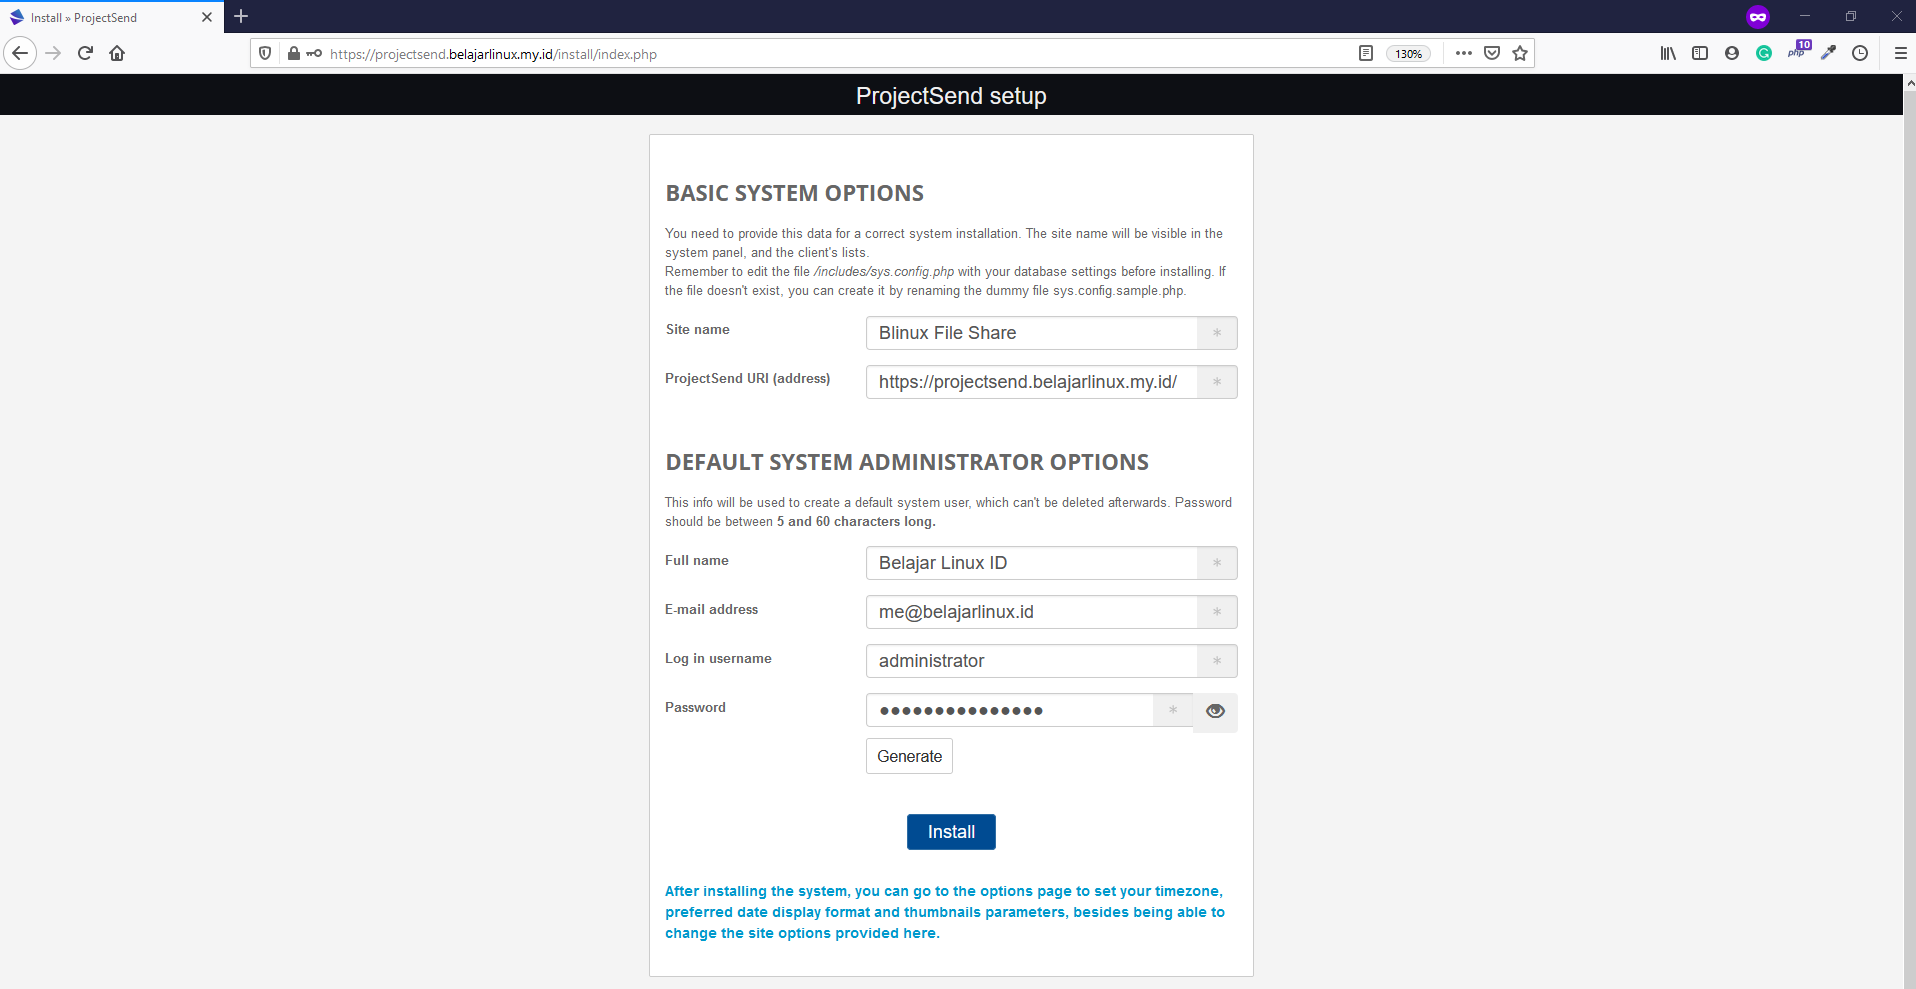
Akses subdomain/domain yang sudah ditentukan sebelumnya di browser untuk lanjut ke proses instalasi ProjectSend dan input username, password, email administrator lalu klik Install seperti gambar dibawah ini
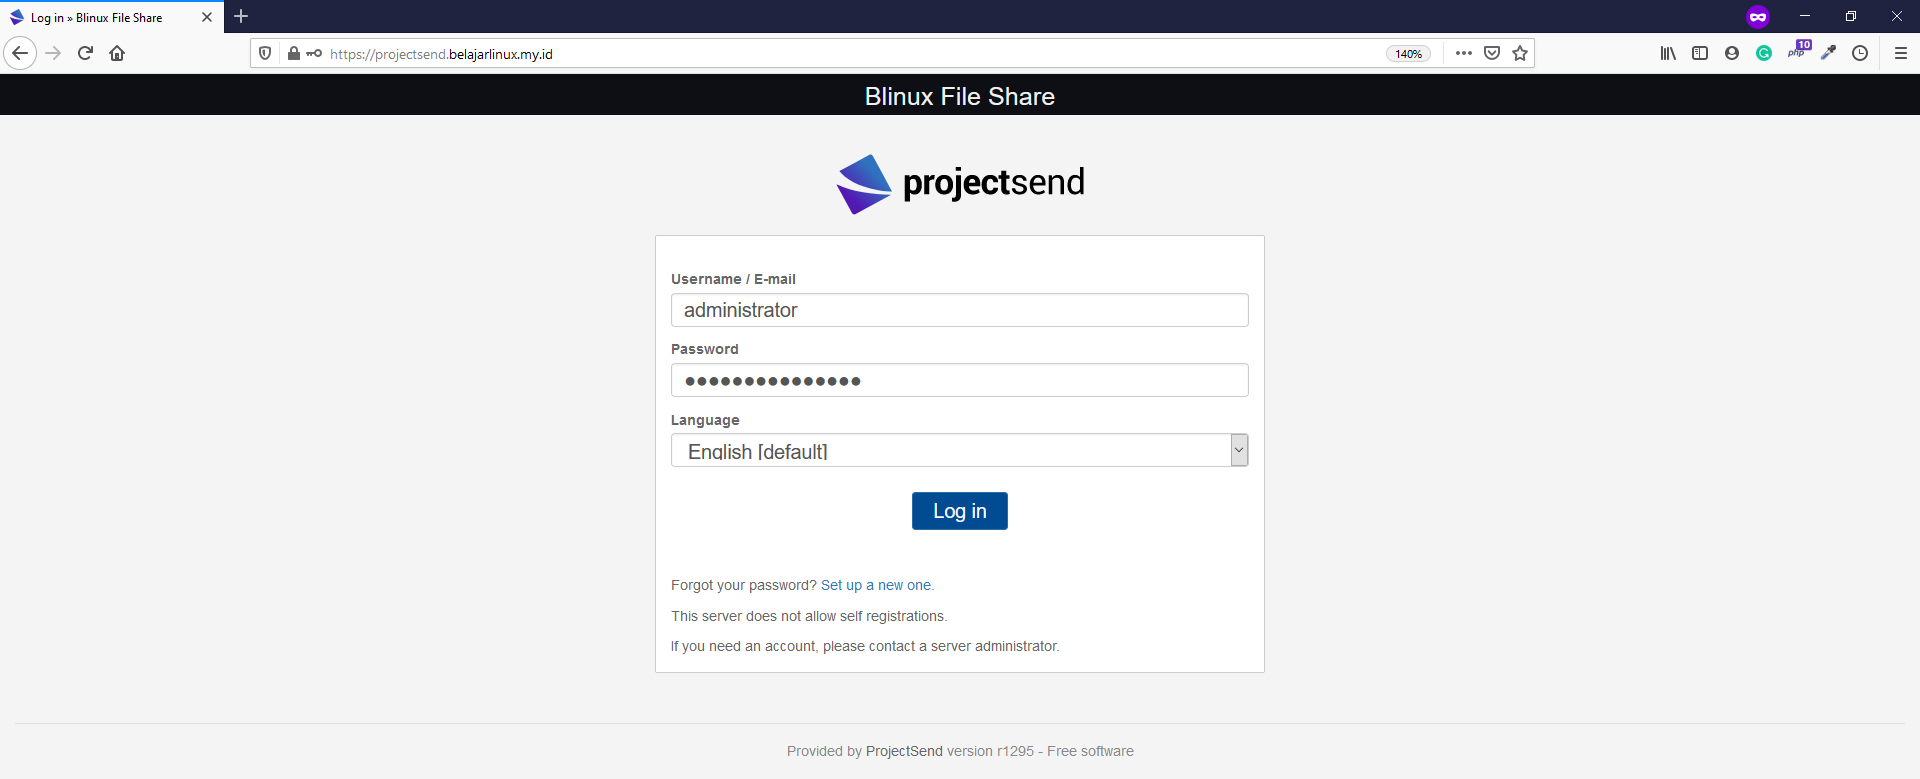
Jika sudah silakan login ke menggunakan username dan password yang sudah ditentukan diatas sebelumnya.
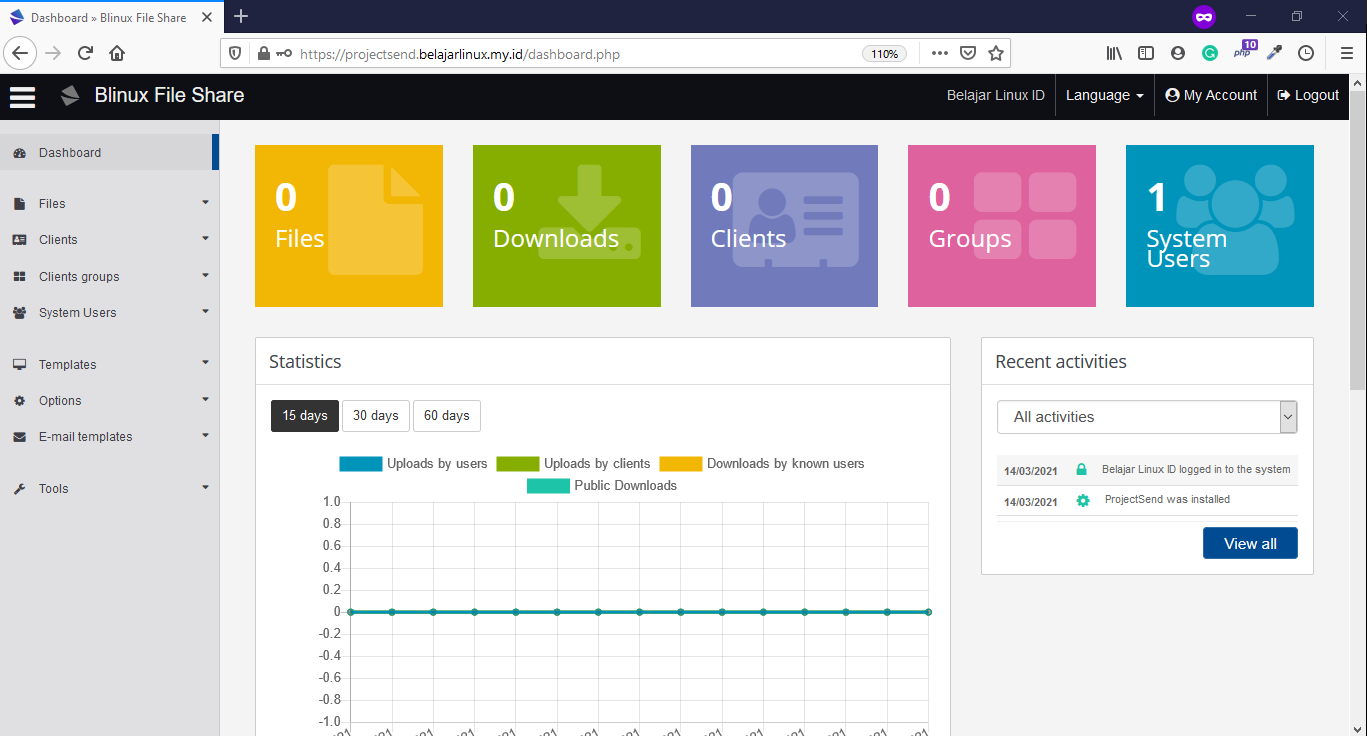
Berikut tampilan dashboard ProjectSend
Selanjutnya Anda dapat menaikan memory limit dan menambahkan ukuran maksimal upload file gunanya apabila terdapat file yang berukuran besar dapat di upload ke projectsend menggunakan 2 baris perintah berikut:
1
2
3
ubuntu@lemp-belajarlinux:~$ sudo sed -i 's/memory_limit = 128M/memory_limit = 512M/g' /etc/php/7.4/fpm/php.ini
ubuntu@lemp-belajarlinux:~$ sudo sed -i 's/upload_max_filesize = 2M/upload_max_filesize = 1024M/g' /etc/php/7.4/fpm/php.ini
ubuntu@lemp-belajarlinux:~$
Selanjutnya restart php-fpm
1
2
ubuntu@lemp-belajarlinux:~$ sudo systemctl restart php7.4-fpm
ubuntu@lemp-belajarlinux:~$
Catatan: Untuk size dapat disesuaikan dengan keinginan Anda masing-masing
Sampai disini Anda sudah berhasil melakukan instalasi ProjectSend di Ubuntu 20.04 LTS menggunakan web server Nginx.
Selamat mencoba 😁