
Belajar Linux ID - NextCloud adalah solusi penyimpanan cloud self-host open source gratis, secara fungsional mirip dengan Dropbox, Google Drive dan lain-lain. Nextcloud dapat digunakan untuk menyimpan data pribadi seperti, gambar, video, world, pdf, music dan semua file-file static layak-nya Dropbox atau Google Drive. Nextcloud dapat diinstall di VM (virtual machine), VPS (virtual private server) atau instance. Layaknya Dropbox dan Google Drive, nextcloud juga sudah menyediakan nextcloud client atau apps yang dapat Anda gunakan di OS Windows (jika Anda pengguna sistem operasi windows), dapat gunakan juga di Android atau iOS dan MacOSX.
Dengan demikian jika Anda ingin mempunyai tempat penyimpanan atau cloud storage secara mandiri, maka nextcloud merupakan solusi yang sangat direkomendasikan untuk digunakan baik untuk enterprice ataupun personal.
Fitur Nextcloud
- Free dan open source
- End-to-end encryption, artinya file dapat dienkripsi pada perangkat client sebelum diunggah ke server, jadi meskipun seseorang mencuri server Anda, mereka tidak dapat membaca file Anda.
- Dapat diintegrasikan dengan office suite online (Collabora Online, OnlyOffice) sehingga Anda dapat membuat dan mengedit file doc, ppt, xls Anda langsung dari NextCloud.
- Mempunyai app store ayng berisi ratusan aplikasi untuk memperluas fungsionalitas (seperti aplikasi kalender, aplikasi kontak, aplikasi pencatatan, aplikasi konferensi video, dll).
- Sudah tersedia di Linux, macOS, Windows, iOS, dan android untuk nextcloud client.
Persyaratan Instalasi
Sebelum masuk ke tahapan instalasi ada baiknya Anda mengetahui terlebih dahulu sistem requirement atau persyaratan yang dibutuhkan untuk instalasi nextcloud yang dapat Anda lihat pada link berikut: System requirements.
Adapun untuk tutorial kali ini kami menggunakan nginx sebagai web server dan mariadb untuk database server sedangkan PHP yang kami gunakan yaitu PHP versi 7.4. Sebelum mengikuti tutorial ini ada baiknya Anda melakukan instalasi LEMP stack terlebih dahulu pada sistem operasi Ubuntu 20.04 LTS pada link berikut: Install LEMP stack di Ubuntu 20.04 LTS.
Tahapan Instalasi
Tahapan pertama dan utama yang perlu Anda lakukan yaitu update sistem operasi Ubuntu 20.04 LTS terlebih dahulu menggunakan perintah berikut
1
2
ubuntu@lemp-belajarlinux:~$ sudo apt update -y
ubuntu@lemp-belajarlinux:~$ sudo apt upgrade -y
Unduh nextcloud terlebih dahulu, disini kami menggunakan nextcloud versi 20.0.4 yang dapat Anda
1
ubuntu@lemp-belajarlinux:~$ wget https://download.nextcloud.com/server/releases/nextcloud-20.0.4.zip
Install tools unzip yang nantinya digunakan untuk mengekstrak file nextcloud
1
ubuntu@lemp-belajarlinux:~$ sudo apt install unzip
Unzip file nextcloud dan berikan hak owner www-data:www-data pada direktori root nextcloud yang telah ditentukan, disini kami letakan di /usr/share/nginx
1
2
ubuntu@lemp-belajarlinux:~$ sudo unzip nextcloud-20.0.4.zip -d /usr/share/nginx/
ubuntu@lemp-belajarlinux:~$ sudo chown www-data:www-data /usr/share/nginx/nextcloud/ -R
Tahapan selanjutnya, yaitu membuat database nextcloud
1
2
3
4
5
6
7
8
9
10
11
12
13
14
15
16
17
18
19
20
21
22
23
24
ubuntu@lemp-belajarlinux:~$ sudo mysql
Welcome to the MariaDB monitor.  Commands end with ; or \g.
Your MariaDB connection id is 95
Server version: 10.3.25-MariaDB-0ubuntu0.20.04.1 Ubuntu 20.04

Copyright (c) 2000, 2018, Oracle, MariaDB Corporation Ab and others.

Type 'help;' or '\h' for help. Type '\c' to clear the current input statement.

MariaDB [(none)]> create database nextcloud;
Query OK, 1 row affected (0.001 sec)

MariaDB [(none)]> create user nextclouduser@localhost identified by '[ISI PASSWORD DB]';
Query OK, 0 rows affected (0.002 sec)

MariaDB [(none)]> grant all privileges on nextcloud.* to nextclouduser@localhost identified by '[ISI PASSWORD DB]';
Query OK, 0 rows affected (0.001 sec)

MariaDB [(none)]> flush privileges;
Query OK, 0 rows affected (0.001 sec)

MariaDB [(none)]> exit;
Bye
ubuntu@lemp-belajarlinux:~$
Tahapan selanjutnya, membuat server blocks nginx untuk nextcloud. Seperti biasa untuk membuat server blocks di direktori /etc/nginx/conf.d
1
ubuntu@lemp-belajarlinux:~$ sudo vim /etc/nginx/conf.d/nextcloud.conf
Berikut isi dari file server blocks nginx nextcloud
1
2
3
4
5
6
7
8
9
10
11
12
13
14
15
16
17
18
19
20
21
22
23
24
25
26
27
28
29
30
31
32
33
34
35
36
37
38
39
40
41
42
43
44
45
46
47
48
49
50
51
52
53
54
55
56
57
58
59
60
61
62
63
64
65
66
67
68
69
70
71
72
73
74
75
76
77
78
79
80
81
82
83
84
85
86
87
88
89
90
91
92
93
94
95
96
97
98
99
100
101
102
103
104
105
106
107
108
109
110
111
server {
    listen 80;
    server_name nextcloud.belajarlinux.my.id;

    # Add headers to serve security related headers
    add_header X-Content-Type-Options nosniff;
    add_header X-XSS-Protection "1; mode=block";
    add_header X-Robots-Tag none;
    add_header X-Download-Options noopen;
    add_header X-Permitted-Cross-Domain-Policies none;
    add_header Referrer-Policy no-referrer;

    #I found this header is needed on Ubuntu, but not on Arch Linux.
    add_header X-Frame-Options "SAMEORIGIN";

    # Path to the root of your installation
    root /usr/share/nginx/nextcloud/;

    access_log /var/log/nginx/nextcloud.access;
    error_log /var/log/nginx/nextcloud.error;

    location = /robots.txt {
        allow all;
        log_not_found off;
        access_log off;
    }

    # The following 2 rules are only needed for the user_webfinger app.
    # Uncomment it if you're planning to use this app.
    #rewrite ^/.well-known/host-meta /public.php?service=host-meta last;
    #rewrite ^/.well-known/host-meta.json /public.php?service=host-meta-json
    # last;

    location = /.well-known/carddav {
        return 301 $scheme://$host/remote.php/dav;
    }
    location = /.well-known/caldav {
       return 301 $scheme://$host/remote.php/dav;
    }

    location ~ /.well-known/acme-challenge {
      allow all;
    }

    # set max upload size
    client_max_body_size 512M;
    fastcgi_buffers 64 4K;

    # Disable gzip to avoid the removal of the ETag header
    gzip off;

    # Uncomment if your server is build with the ngx_pagespeed module
    # This module is currently not supported.
    #pagespeed off;

    error_page 403 /core/templates/403.php;
    error_page 404 /core/templates/404.php;

    location / {
       rewrite ^ /index.php;
    }

    location ~ ^/(?:build|tests|config|lib|3rdparty|templates|data)/ {
       deny all;
    }
    location ~ ^/(?:\.|autotest|occ|issue|indie|db_|console) {
       deny all;
     }

    location ~ ^/(?:index|remote|public|cron|core/ajax/update|status|ocs/v[12]|updater/.+|ocs-provider/.+|core/templates/40[34])\.php(?:$|/) {
       include fastcgi_params;
       fastcgi_split_path_info ^(.+\.php)(/.*)$;
       try_files $fastcgi_script_name =404;
       fastcgi_param SCRIPT_FILENAME $document_root$fastcgi_script_name;
       fastcgi_param PATH_INFO $fastcgi_path_info;
       #Avoid sending the security headers twice
       fastcgi_param modHeadersAvailable true;
       fastcgi_param front_controller_active true;
       fastcgi_pass unix:/run/php/php7.4-fpm.sock;
       fastcgi_intercept_errors on;
       fastcgi_request_buffering off;
    }

    location ~ ^/(?:updater|ocs-provider)(?:$|/) {
       try_files $uri/ =404;
       index index.php;
    }

    # Adding the cache control header for js and css files
    # Make sure it is BELOW the PHP block
    location ~* \.(?:css|js)$ {
        try_files $uri /index.php$uri$is_args$args;
        add_header Cache-Control "public, max-age=7200";
        # Add headers to serve security related headers (It is intended to
        # have those duplicated to the ones above)
        add_header X-Content-Type-Options nosniff;
        add_header X-XSS-Protection "1; mode=block";
        add_header X-Robots-Tag none;
        add_header X-Download-Options noopen;
        add_header X-Permitted-Cross-Domain-Policies none;
        add_header Referrer-Policy no-referrer;
        # Optional: Don't log access to assets
        access_log off;
   }

   location ~* \.(?:svg|gif|png|html|ttf|woff|ico|jpg|jpeg)$ {
        try_files $uri /index.php$uri$is_args$args;
        # Optional: Don't log access to other assets
        access_log off;
   }
}
Catatan: Pada bagian server_name silakan isi nama domain atau subdomain yang Anda, disini kami menggunakan sub domain nextcloud.belajarlinux.my.id
Verifikasi konfigurasi server blocks nginx nextcloud
1
2
3
4
ubuntu@lemp-belajarlinux:~$ sudo nginx -t
nginx: the configuration file /etc/nginx/nginx.conf syntax is ok
nginx: configuration file /etc/nginx/nginx.conf test is successful
ubuntu@lemp-belajarlinux:~$
Reload service web server nginx
1
2
ubuntu@lemp-belajarlinux:~$ sudo systemctl reload nginx
ubuntu@lemp-belajarlinux:~$
Install beberapa php module tambahan yang dibutuhkan oleh nextcloud
1
ubuntu@lemp-belajarlinux:~$ sudo apt install imagemagick php-imagick php7.4-common php7.4-mysql php7.4-fpm php7.4-gd php7.4-json php7.4-curl  php7.4-zip php7.4-xml php7.4-mbstring php7.4-bz2 php7.4-intl php7.4-bcmath php7.4-gmp
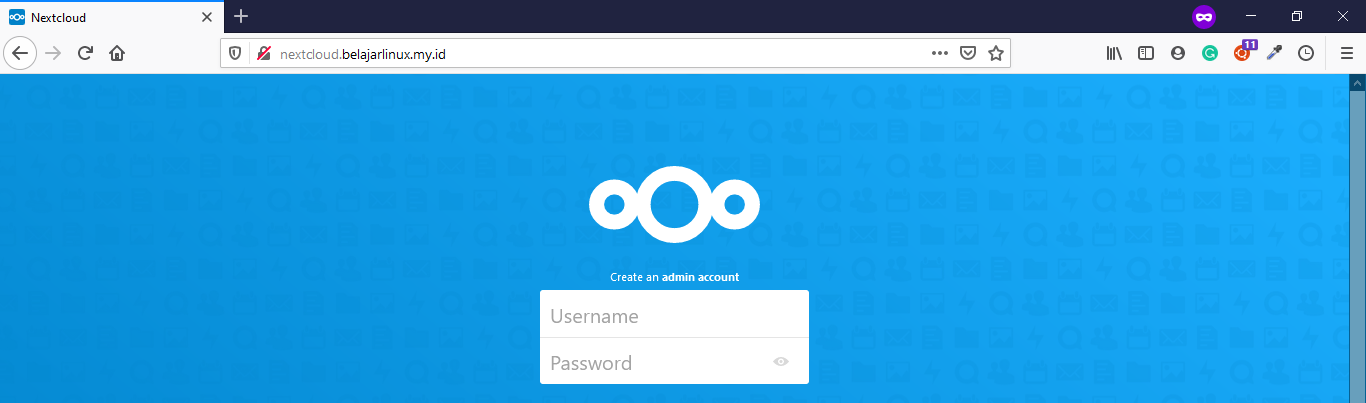
Tunggu proses instalasi module php sampai selesai, jika sudah silakan akses sub domain nextcloud.belajarlinux.my.id yang sudah ditentukan di server_name pada konfigurasi nginx sebelumnya, hasilnya seperti berikut ini
Pada tahapan ini sebenarnya Anda sudah dapat melakukan instalasi nextcloud, akan tetapi disini kami akan menggunakan SSL free menggunakan letsencrypt supaya nextcloud secure dengan menggunakan protokol HTTPS (Hypertext Transfer Protocol Secure).
Jalankan satu baris perintah berikut, untuk install SSL free untuk sub domain nextcloud.belajarlinux.my.id
1
2
3
4
5
6
7
8
9
10
11
12
13
14
15
16
17
18
19
20
21
22
23
24
25
26
27
28
29
30
31
32
33
34
ubuntu@lemp-belajarlinux:~$ sudo certbot --nginx --agree-tos --redirect --hsts --staple-ocsp --email me@belajarlinux.id -d nextcloud.belajarlinux.my.id
Saving debug log to /var/log/letsencrypt/letsencrypt.log
Plugins selected: Authenticator nginx, Installer nginx
Obtaining a new certificate
Performing the following challenges:
http-01 challenge for nextcloud.belajarlinux.my.id
Waiting for verification...
Cleaning up challenges
Deploying Certificate to VirtualHost /etc/nginx/conf.d/nextcloud.conf
Redirecting all traffic on port 80 to ssl in /etc/nginx/conf.d/nextcloud.conf

- - - - - - - - - - - - - - - - - - - - - - - - - - - - - - - - - - - - - - - -
Congratulations! You have successfully enabled
https://nextcloud.belajarlinux.my.id

You should test your configuration at:
https://www.ssllabs.com/ssltest/analyze.html?d=nextcloud.belajarlinux.my.id
- - - - - - - - - - - - - - - - - - - - - - - - - - - - - - - - - - - - - - - -

IMPORTANT NOTES:
 - Congratulations! Your certificate and chain have been saved at:
   /etc/letsencrypt/live/nextcloud.belajarlinux.my.id/fullchain.pem
   Your key file has been saved at:
   /etc/letsencrypt/live/nextcloud.belajarlinux.my.id/privkey.pem
   Your cert will expire on 2021-06-01. To obtain a new or tweaked
   version of this certificate in the future, simply run certbot again
   with the "certonly" option. To non-interactively renew *all* of
   your certificates, run "certbot renew"
 - If you like Certbot, please consider supporting our work by:

   Donating to ISRG / Let's Encrypt:   https://letsencrypt.org/donate
   Donating to EFF:                    https://eff.org/donate-le

ubuntu@lemp-belajarlinux:~$
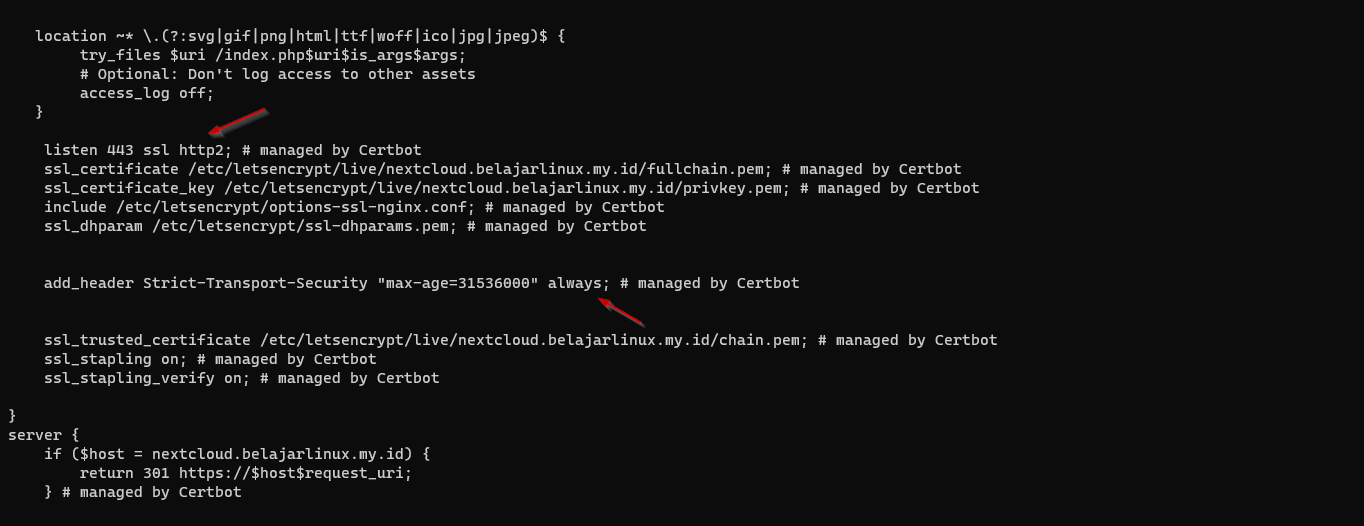
Secara otomatis jika dilihat konfigurasi server blocks nginx nextcloud saat ini sudah ada konfigurasi SSL
1
ubuntu@lemp-belajarlinux:~$ sudo vim /etc/nginx/conf.d/nextcloud.conf
Verifikasi kembali konfigurasi nginx Anda menggunakan perintah nginx -t
1
2
3
4
ubuntu@lemp-belajarlinux:~$ sudo nginx -t
nginx: the configuration file /etc/nginx/nginx.conf syntax is ok
nginx: configuration file /etc/nginx/nginx.conf test is successful
ubuntu@lemp-belajarlinux:~$
Reload web server nginx
1
2
ubuntu@lemp-belajarlinux:~$ sudo systemctl reload nginx
ubuntu@lemp-belajarlinux:~$
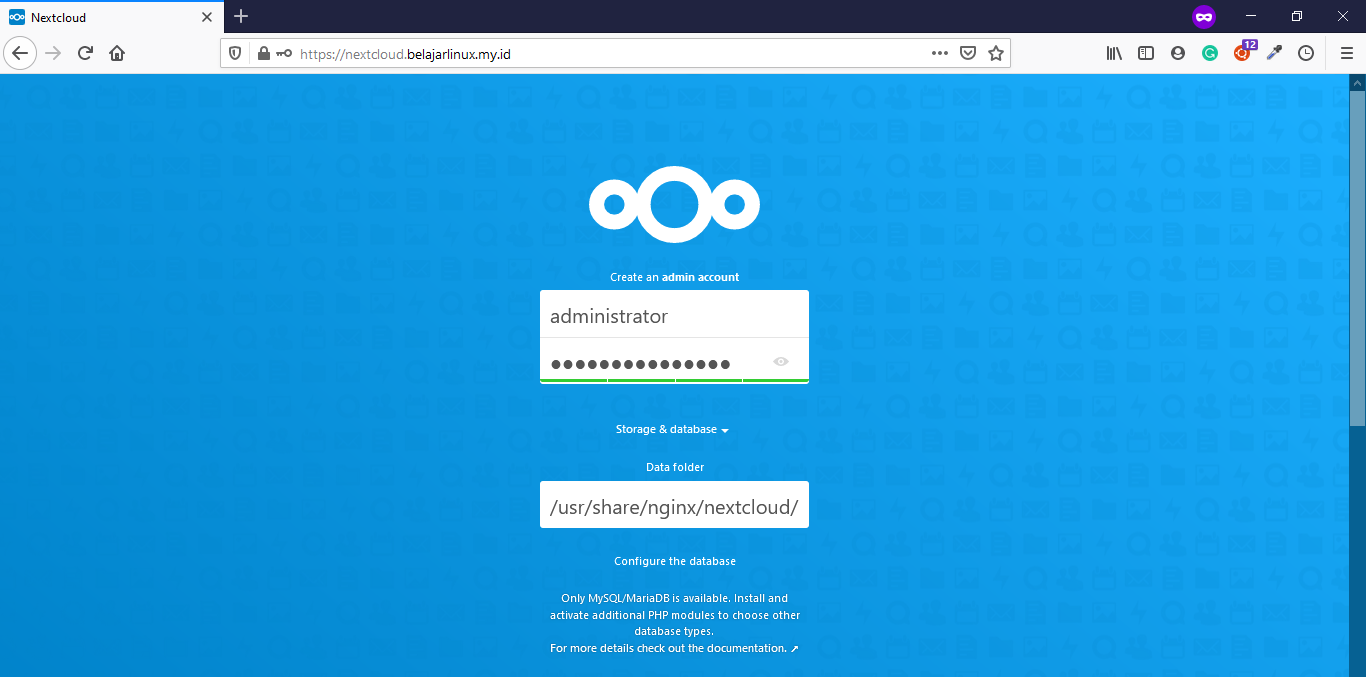
Akses kembali nextcloud.belajarlinux.my.id pastikan sudah menggunakan protokol HTTPS, dan silakan isi username dan password Administrator dan tentukan path direktori data nextcloud
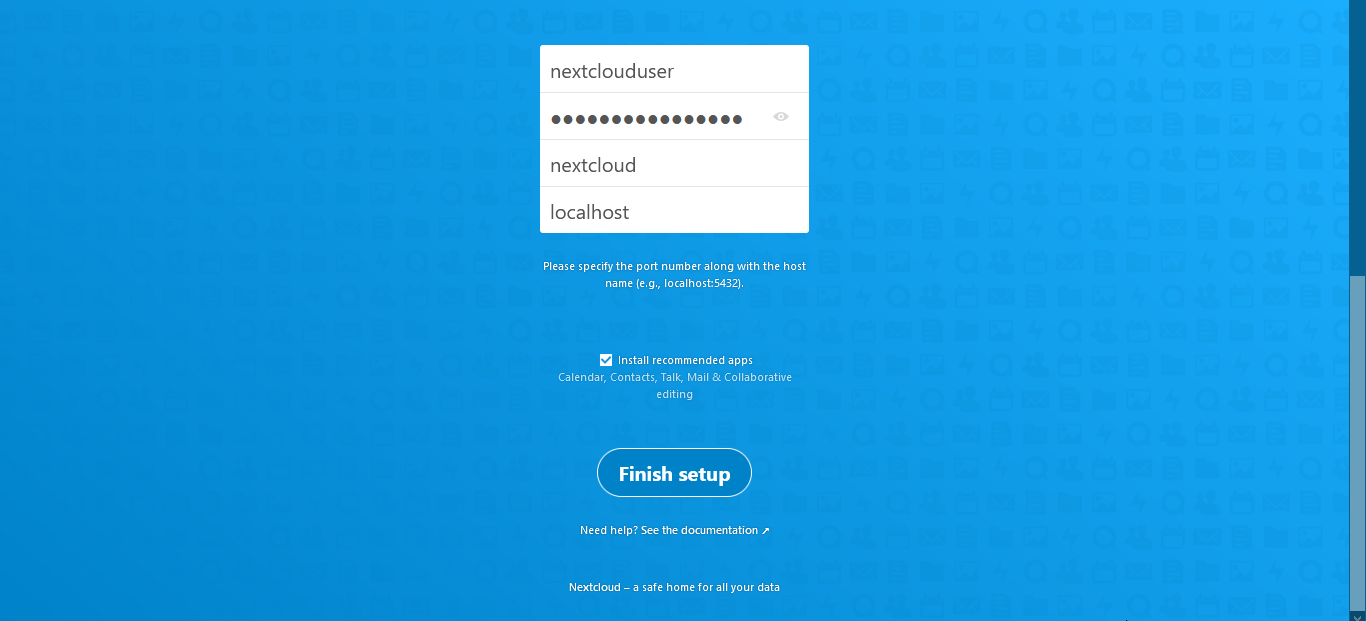
Input nama, username dan password database nextcloud yang sudah dibuaat sebelumnya, lalu klik Finish setup
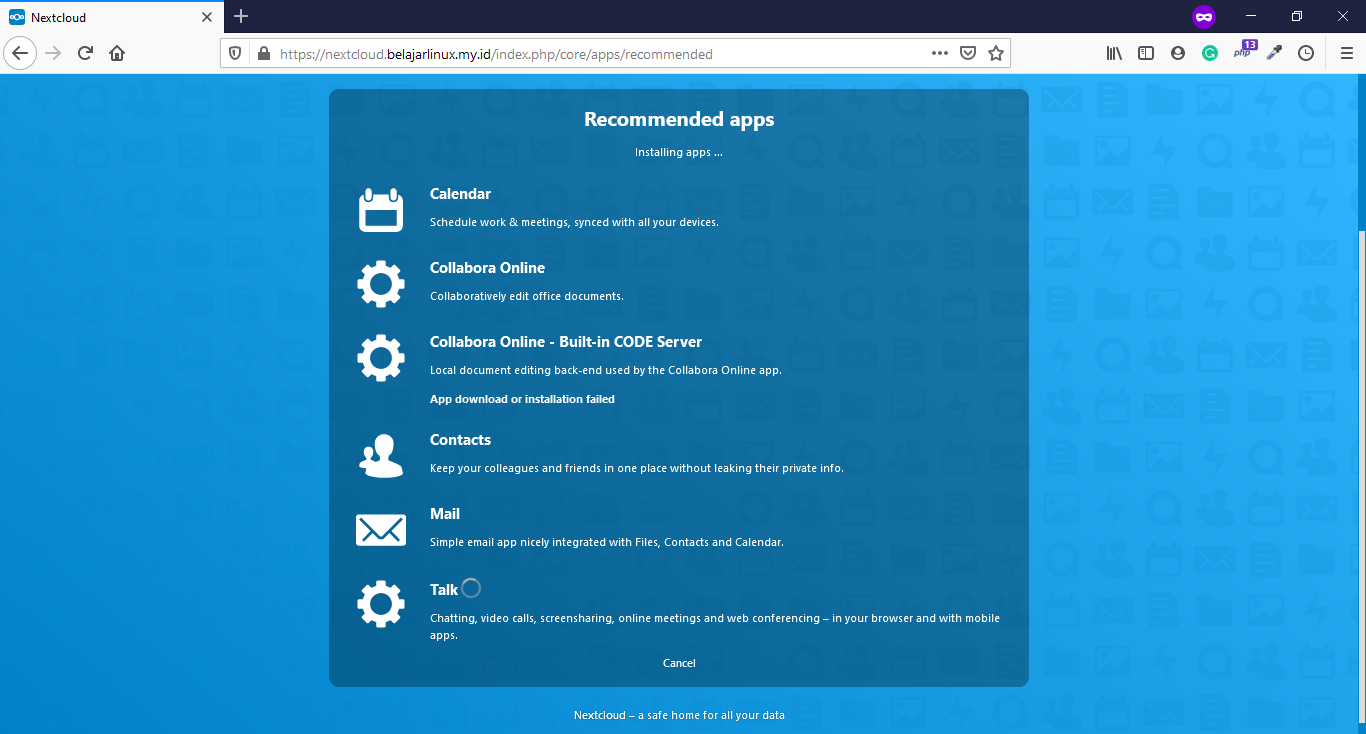
Tunggu proses instalasi sampai selesai
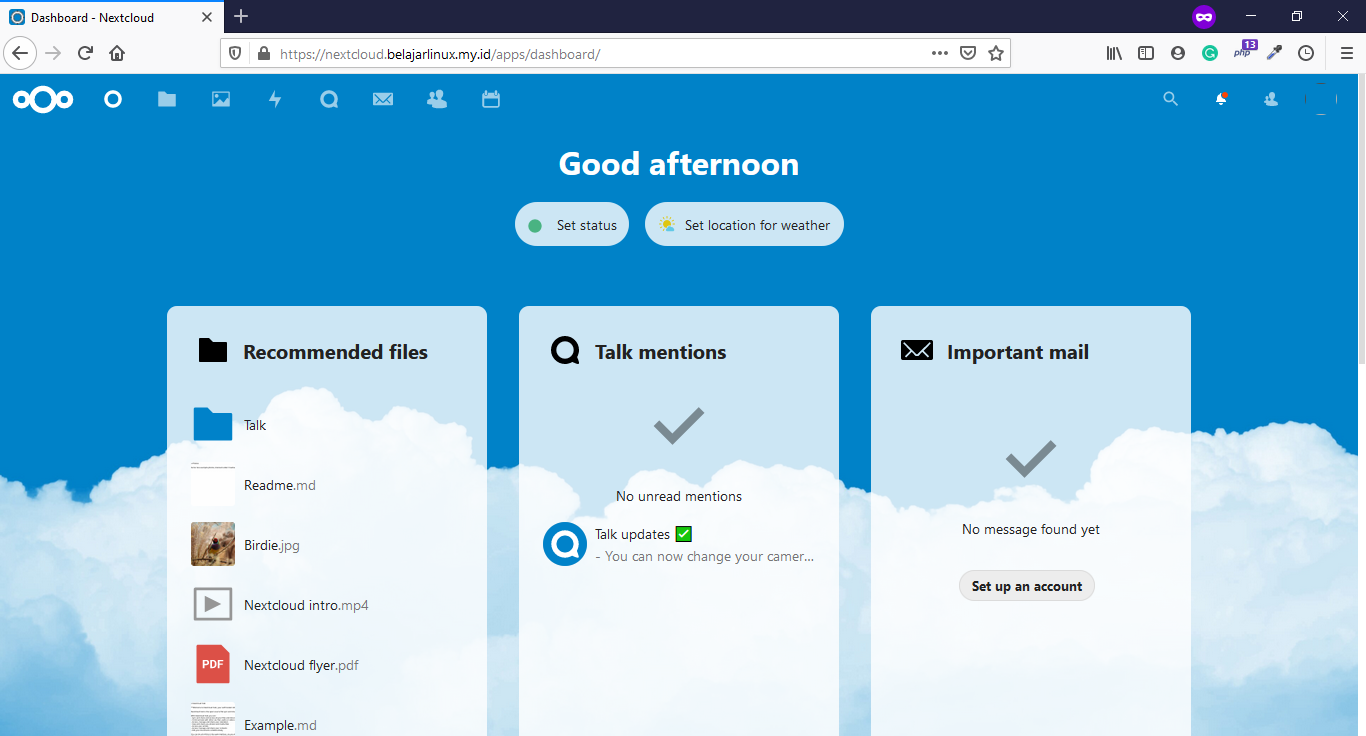
Jika sudah selesai Anda akan diperlihatkan tampilan default dashboard Nextcloud yang elegan
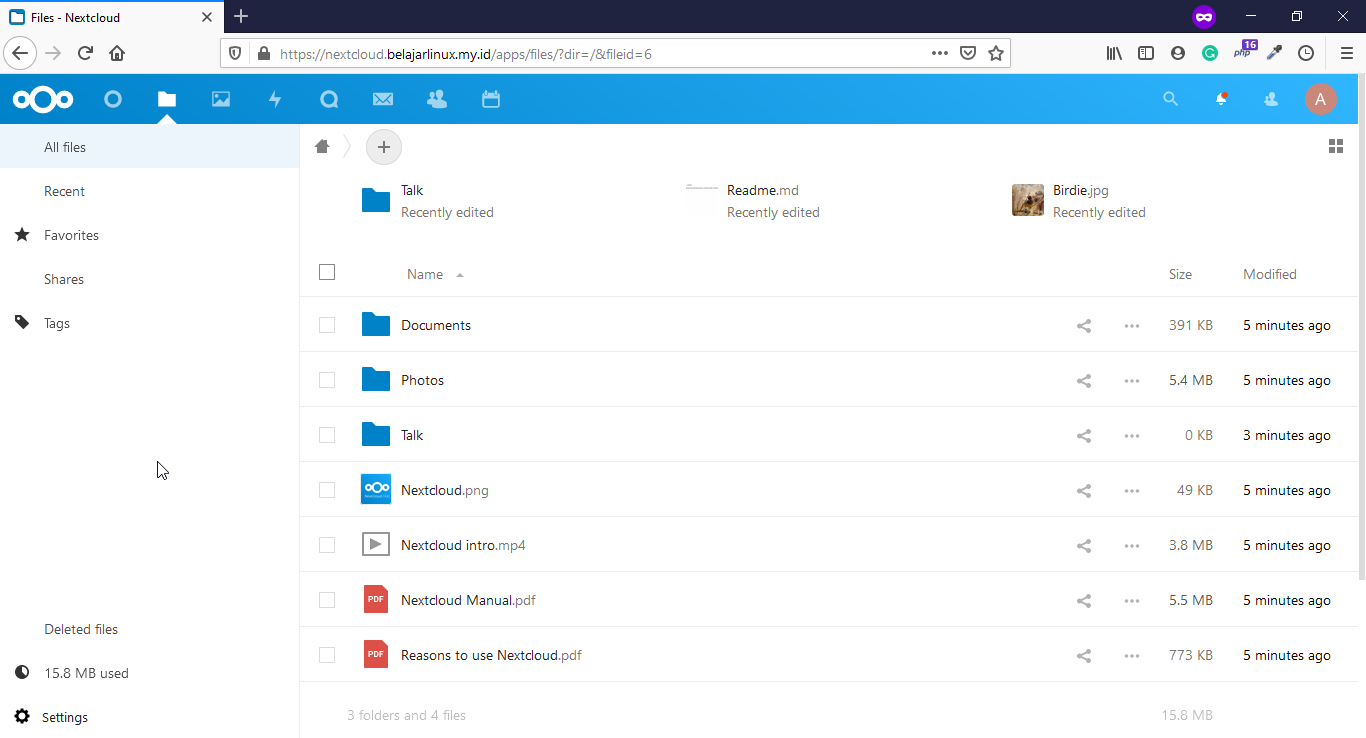
Berikut contoh tampilan files direktori yang ada di nextcloud
Sampai disini Anda sudah berhasil install clous storage menggunakan nextcloud di Ubuntu 20.04 LTS.
Selamat mencoba 😁