
CMS WordPress salah satu CMS yang open source ditulis menggunakan PHP dan bisa dibilang CMS yang multiguna karena dapat digunakan di berbagai jenis contohnya bisa digunakan sebagai website e-commerce, blog pribadi, company dan masih banyak lainnya.
Untuk system requirements WordPress dapat Anda lihat pada link berikut: Requirements
Sebelum mengikuti tutorial ini pastikan Anda sudah install web server nginx dan php 7.x (sesuai keinginan) dan database (disini kami menggunakan mariadb), detailnya dapat merujuk pada link berikut
- Cara Instalasi Nginx Di CentOS 8
- Cara Instalasi PHP 7 di CentOS 8
- _ Cara Instalasi Database MariaDB di CentOS 8 _
Pastikan Nginx dan php-fpm Anda sudah running
1
2
3
4
5
6
7
8
9
[root@tutorial ~]# systemctl status nginx |grep Active
   Active: active (running) since Mon 2020-08-24 07:38:54 UTC; 44s ago
[root@tutorial ~]#
[root@tutorial ~]# systemctl status php-fpm |grep Active
   Active: active (running) since Mon 2020-08-24 07:10:20 UTC; 29min ago
[root@tutorial ~]#
[root@tutorial ~]# systemctl status mariadb |grep Active
   Active: active (running) since Sun 2020-08-23 04:11:36 UTC; 1 day 3h ago
[root@tutorial ~]#
Kemudian pastikan Anda sudah install module – module php yang diperlukan berikut beberapa modulu php yang diperlukan
1
2
[root@tutorial ~]#
[root@tutorial ~]# dnf install php php-mysqlnd php-gd php-ldap php-odbc php-pear php-xml php-xmlrpc php-mbstring php-snmp php-soap -y
Disini kami menggunakan php 7.4 untuk cek versi php sebagai berikut
1
2
3
4
5
6
7
[root@tutorial ~]#
[root@tutorial ~]# php --version
PHP 7.4.9 (cli) (built: Aug 4 2020 08:28:13) ( NTS )
Copyright (c) The PHP Group
Zend Engine v3.4.0, Copyright (c) Zend Technologies
    with Zend OPcache v7.4.9, Copyright (c), by Zend Technologies
[root@tutorial ~]#
Untuk melihat module php gunakan perintah berikut
1
2
3
4
5
6
7
8
9
10
11
[root@tutorial ~]#
[root@tutorial ~]# php -m
[PHP Modules]
bz2
calendar
Core
ctype
curl
date
dom
exif
Selanjutnya membuat database wordpress
1
2
3
4
5
6
7
8
9
10
11
12
13
14
15
16
17
18
19
20
21
22
23
24
25
[root@tutorial ~]# mysql -u root -p
Enter password:
Welcome to the MariaDB monitor. Commands end with ; or \g.
Your MariaDB connection id is 13
Server version: 10.3.17-MariaDB MariaDB Server

Copyright (c) 2000, 2018, Oracle, MariaDB Corporation Ab and others.

Type 'help;' or '\h' for help. Type '\c' to clear the current input statement.

MariaDB [(none)]> create database wordpress;
Query OK, 1 row affected (0.001 sec)

MariaDB [(none)]> create user 'user_wordpress'@'localhost' identified by 'password_wordpress';
Query OK, 0 rows affected (0.002 sec)

MariaDB [(none)]> grant all privileges on wordpress.* to 'user_wordpress'@'localhost';
Query OK, 0 rows affected (0.000 sec)

MariaDB [(none)]> flush privileges;
Query OK, 0 rows affected (0.001 sec)

MariaDB [(none)]> exit;
Bye
[root@tutorial ~]#
Unduh wordpress dan menentukan letak root direktori wordpress
1
2
3
4
5
6
7
8
9
10
11
12
13
14
15
16
[root@tutorial ~]#
[root@tutorial ~]# cd /usr/share/nginx/
[root@tutorial nginx]#
[root@tutorial nginx]# wget https://wordpress.org/latest.zip
--2020-08-24 07:46:55-- https://wordpress.org/latest.zip
Resolving wordpress.org (wordpress.org)... 198.143.164.252
Connecting to wordpress.org (wordpress.org)|198.143.164.252|:443... connected.
HTTP request sent, awaiting response... 200 OK
Length: 13999011 (13M) [application/zip]
Saving to: ‘latest.zip’

latest.zip 100%[============================================================>] 13.35M 5.73MB/s in 2.3s

2020-08-24 07:47:04 (5.73 MB/s) - ‘latest.zip’ saved [13999011/13999011]

[root@tutorial nginx]#
Unzip file WordPress
1
2
[root@tutorial nginx]#
[root@tutorial nginx]# dnf install unzip; unzip latest.zip
Konfigurasi WordPress
1
2
3
[root@tutorial nginx]#
[root@tutorial nginx]# cd wordpress/
[root@tutorial wordpress]# cp wp-config-sample.php wp-config.php
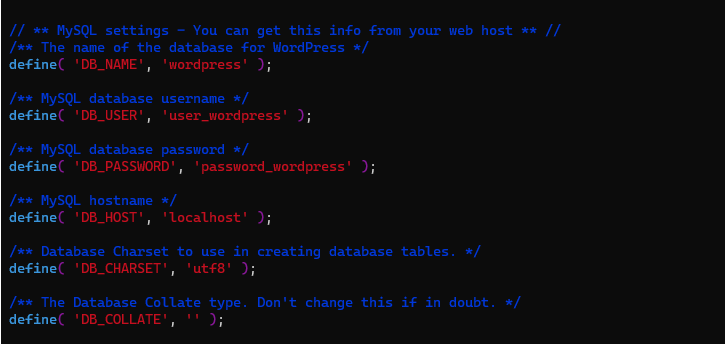
Sesuaikan koneksi database WordPress yang sudah dibuat sebelumnya, seperti berikut ini
Berikan hak owner dan hak akses WordPress
1
2
3
[root@tutorial wordpress]#
[root@tutorial wordpress]# chown -R nginx:nginx /usr/share/nginx/wordpress/
[root@tutorial wordpress]# chmod -R 755 /usr/share/nginx/wordpress/
Selanjutnya konfigurasi php-fpm
1
2
[root@tutorial wordpress]#
[root@tutorial wordpress]# vim /etc/php-fpm.d/www.conf
Untuk koneksi nginx ke php-fpm disini kami akan menggunakan unix socket
1
2
3
4
5
6
7
8
9
10
11
12
13
14
15
16
17
18
19
20
21
22
23
; The address on which to accept FastCGI requests.
; Valid syntaxes are:
; 'ip.add.re.ss:port' - to listen on a TCP socket to a specific IPv4 address on
; a specific port;
; '[ip:6:addr:ess]:port' - to listen on a TCP socket to a specific IPv6 address on
; a specific port;
; 'port' - to listen on a TCP socket to all addresses
; (IPv6 and IPv4-mapped) on a specific port;
; '/path/to/unix/socket' - to listen on a unix socket.
; Note: This value is mandatory.
listen = /run/php-fpm/www.sock

; Set listen(2) backlog.
; Default Value: 511
;listen.backlog = 511

; Set permissions for unix socket, if one is used. In Linux, read/write
; permissions must be set in order to allow connections from a web server.
; Default Values: user and group are set as the running user
; mode is set to 0660
listen.owner = nginx
listen.group = nginx
listen.mode = 0660
Jika sudah silakan buat server block Nginx WordPress
1
2
[root@tutorial wordpress]#
[root@tutorial wordpress]# vim /etc/nginx/conf.d/wordpress.conf
Berikut isi dari server block Nginx
1
2
3
4
5
6
7
8
9
10
11
12
13
14
15
16
17
18
19
server {
        listen 80;
        server_name wordpress.nurhamim.my.id;
        root /usr/share/nginx/wordpress;
        index index.php index.html index.htm;

        location / {
                try_files $uri $uri/ /index.php?$query_string;
        }

        location ~ \.php {
                include fastcgi.conf;
                fastcgi_split_path_info ^(.+\.php)(/.+)$;
                fastcgi_pass unix:/run/php-fpm/www.sock;
        }
        location ~ /\.ht {
                deny all;
        }
}
Jika sudah pastikan konfigurasi nginx tidak ada yang salah
1
2
3
4
5
[root@tutorial wordpress]#
[root@tutorial wordpress]# nginx -t
nginx: the configuration file /etc/nginx/nginx.conf syntax is ok
nginx: configuration file /etc/nginx/nginx.conf test is successful
[root@tutorial wordpress]#
Reload php-fpm dan Nginx
1
2
3
[root@tutorial wordpress]#
[root@tutorial wordpress]# systemctl reload php-fpm; systemctl reload nginx
[root@tutorial wordpress]#
Pastikan subdomain atau domain yang Anda isikan di server_name di server block sudah mengarah ke IP Public VM atau VPS Anda contohnya
1
2
3
4
5
6
[root@tutorial wordpress]#
[root@tutorial wordpress]# ping wordpress.nurhamim.my.id -c3 |grep icmp
64 bytes from 103.89.7.26 (103.89.7.26): icmp_seq=1 ttl=63 time=0.441 ms
64 bytes from 103.89.7.26 (103.89.7.26): icmp_seq=2 ttl=63 time=0.465 ms
64 bytes from 103.89.7.26 (103.89.7.26): icmp_seq=3 ttl=63 time=0.424 ms
[root@tutorial wordpress]#
Jika belum mengarah silakan menambahkan A record terlebih dahulu contohnya

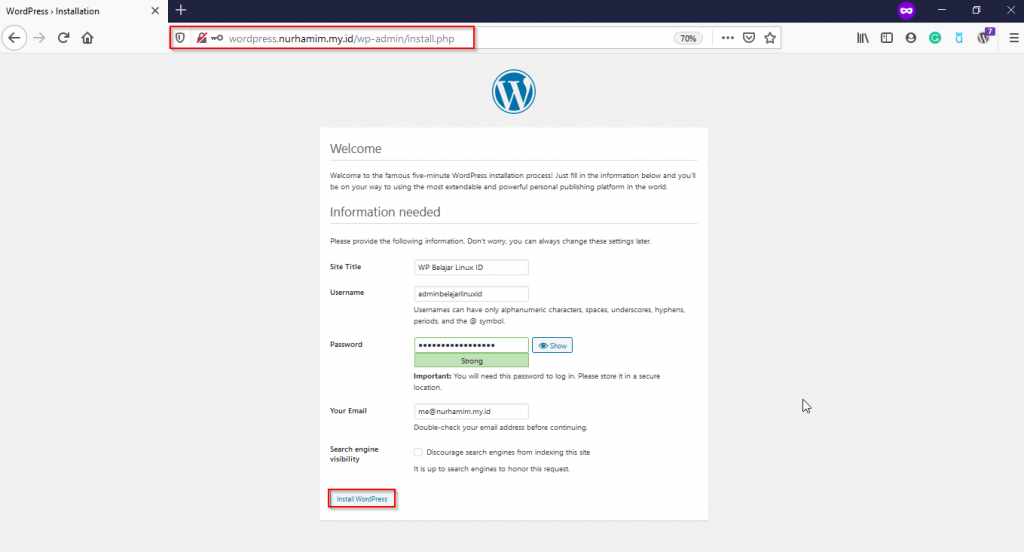
Jika sudah silakan akses subdomain atau domain Anda melalui browser, apabila berhasil Anda akan diminta untuk konfigurasi WordPress
Instalasi sudah berhasil
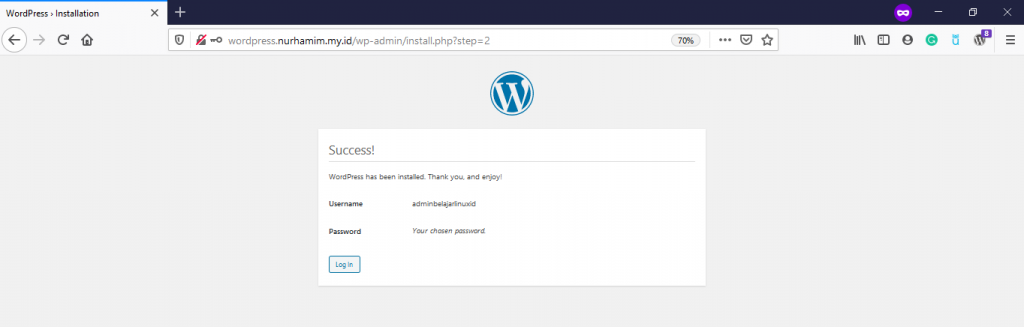
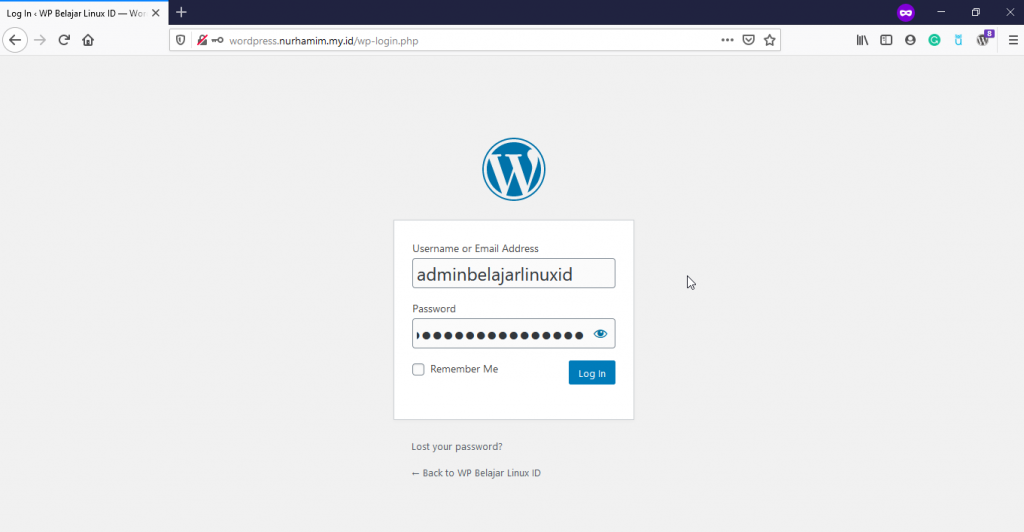
Silakan login ke WP Admin Anda
Berikut tampilan dashboard WordPress yang sudah berhasil terinstall
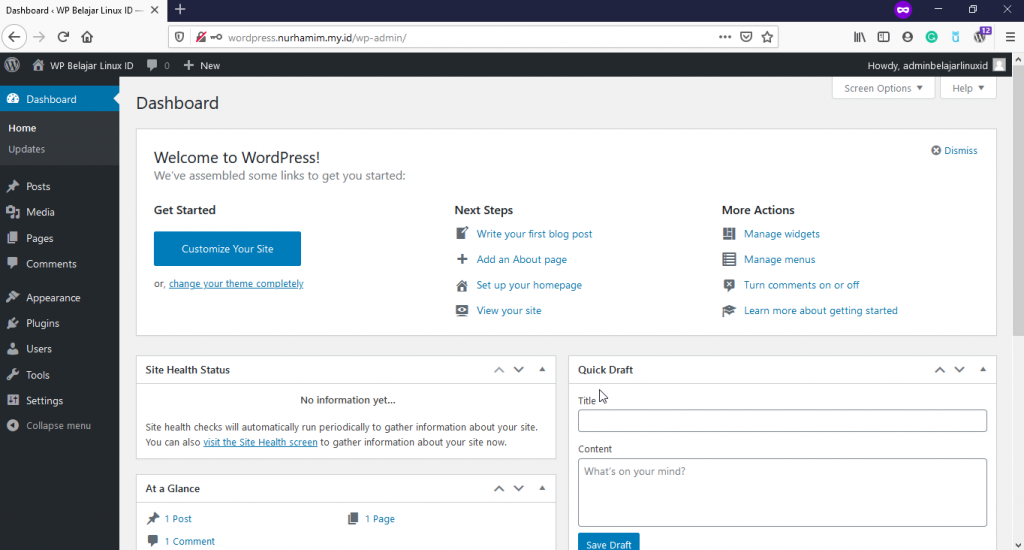
Selamat mencoba 😁